A properly cleaned hamster cage isn’t a luxury — it’s the single biggest factor in respiratory health and lifespan. Skip even a few days of spot cleaning and ammonia builds past 25 ppm, the threshold where chronic lung damage starts. This guide walks you through the exact daily, weekly, and monthly routines our team uses, the 7 products that make it faster, and the 5 cleaners that will silently kill your hamster if you grab them off the shelf.
Most hamster health problems start with poor cage hygiene, not with the hamster itself. A clean cage is the single most impactful thing you can do for your hamster’s wellbeing.
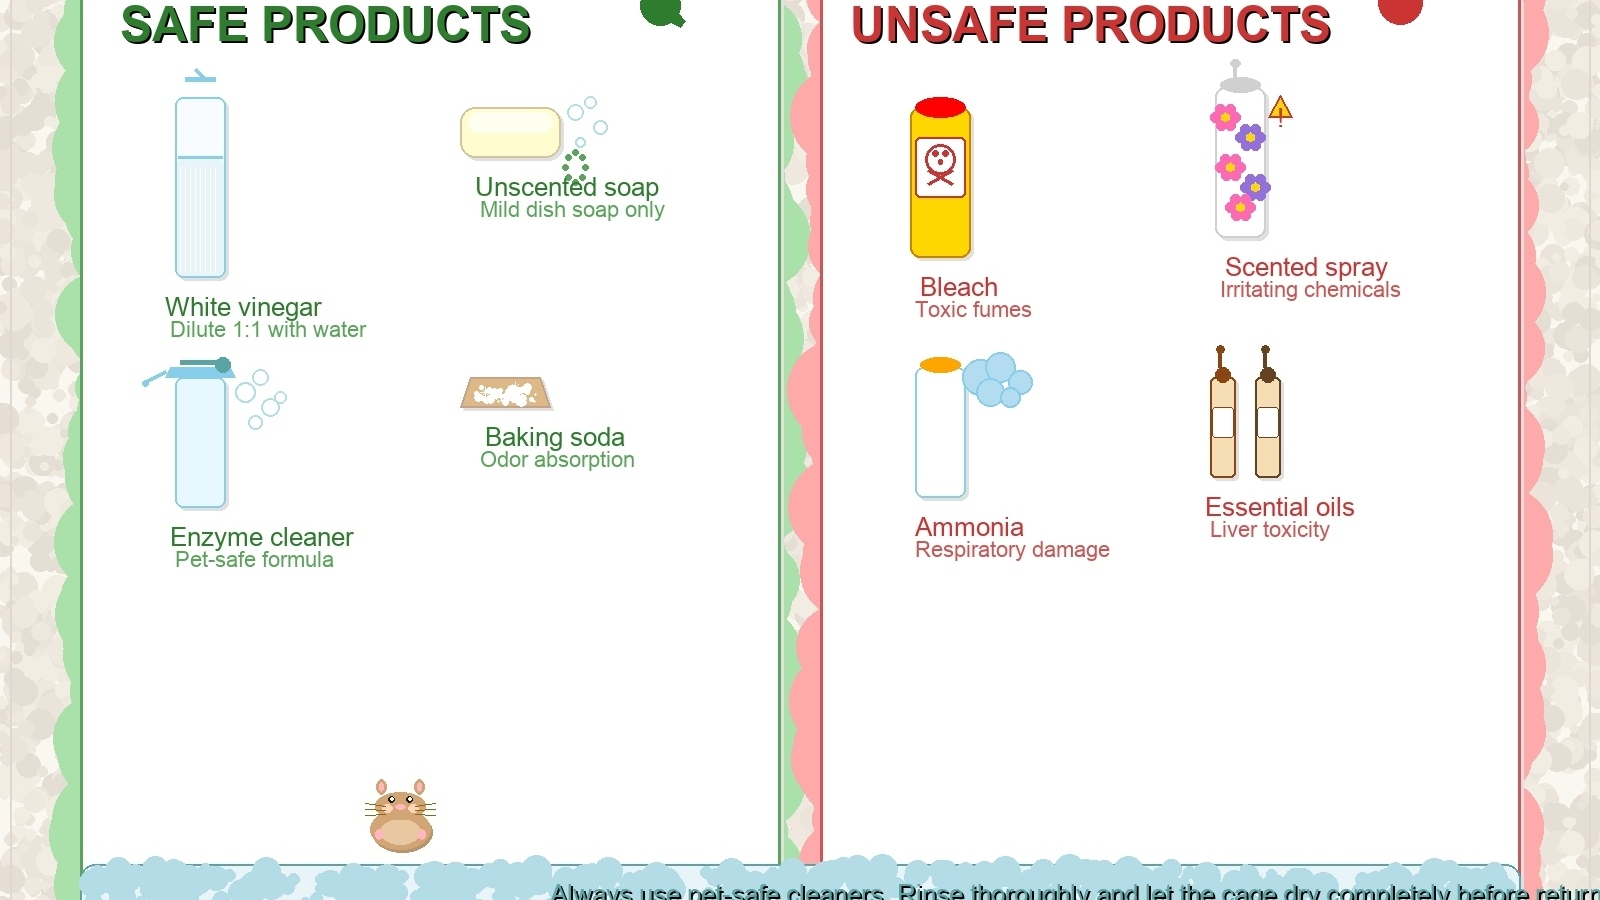
Never use bleach, ammonia, or scented cleaners on any part of the cage. These chemicals are lethal to hamsters through respiratory absorption alone. Use a pet-safe enzyme cleaner or a 50/50 white vinegar and water solution instead.
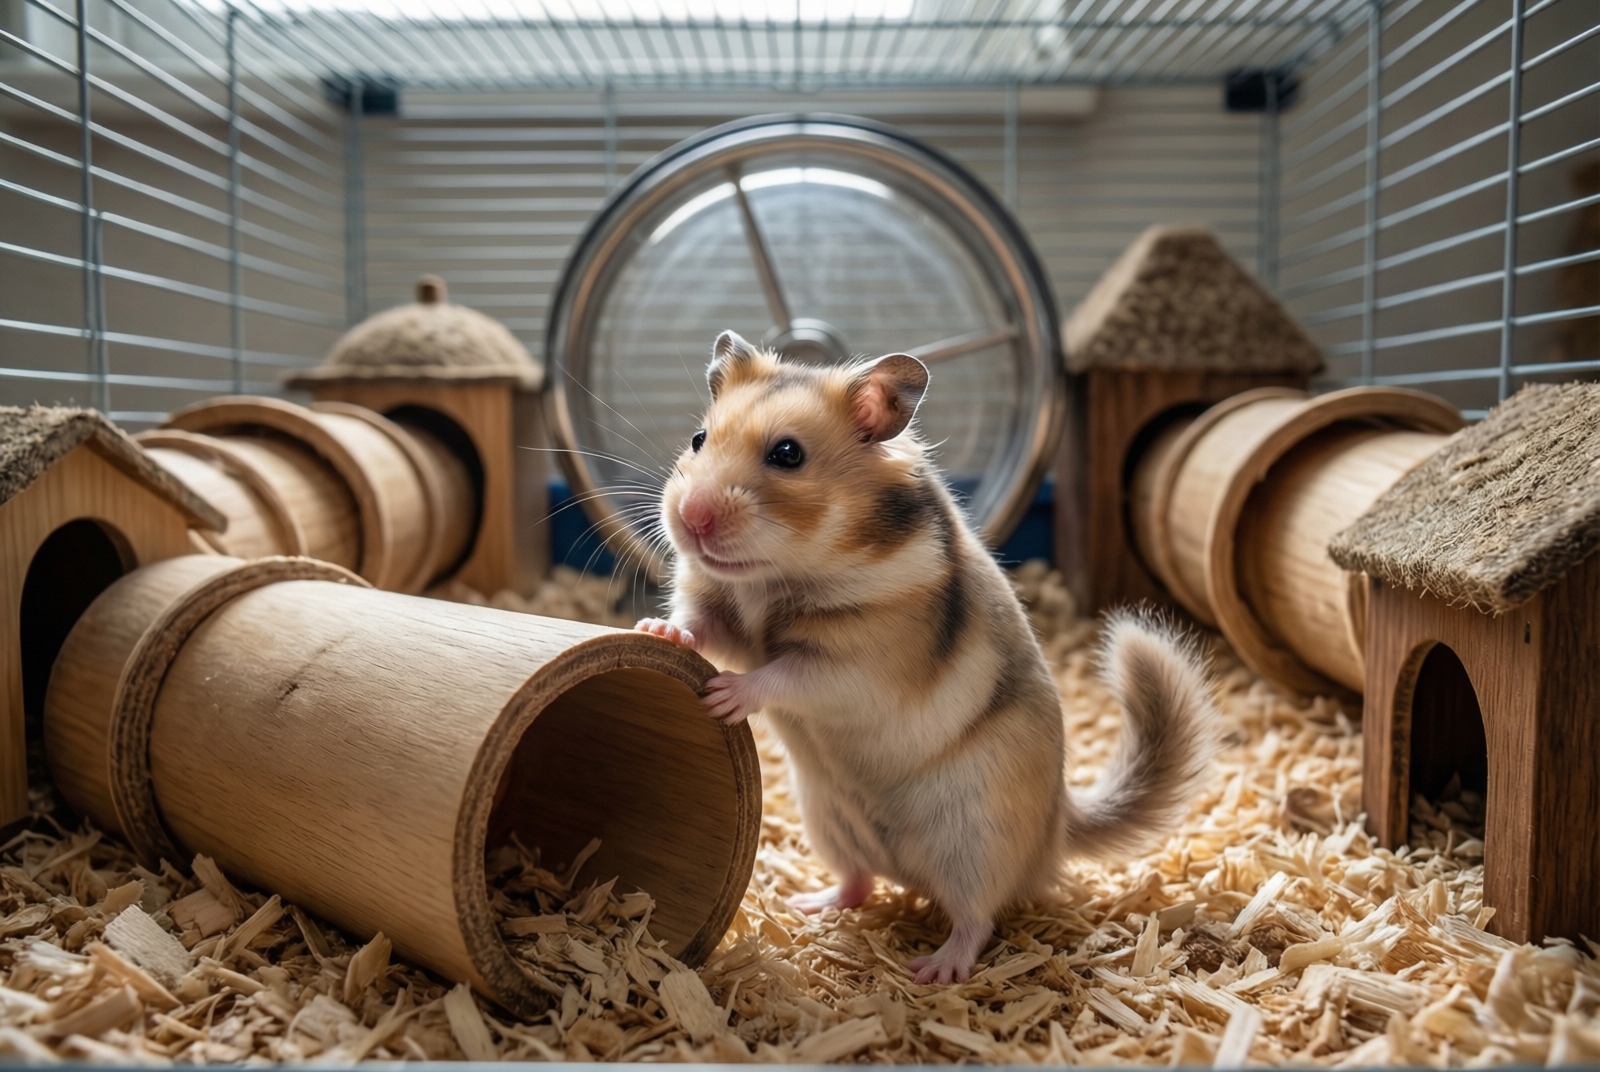
This guide covers how to clean a hamster cage at every level, including what products are safe, how to minimize stress during cleaning, and how to keep the cage odor-free between deep cleans. Whether you are a first-time owner or looking to improve your current routine, the schedule below works for all common hamster species — Syrian, dwarf, and Chinese.
Top 3 Cleaning Picks (Editor’s Picks)
Short on time? Skip the reading and grab these three — they cover 90% of cage cleaning needs.
| Pick | Product | Price | Best For |
|---|---|---|---|
| Best Overall Cleaner | Nature’s Miracle Small Animal Cage & Surface Cleaner | $6.19 | Weekly wipe-downs + monthly deep cleans |
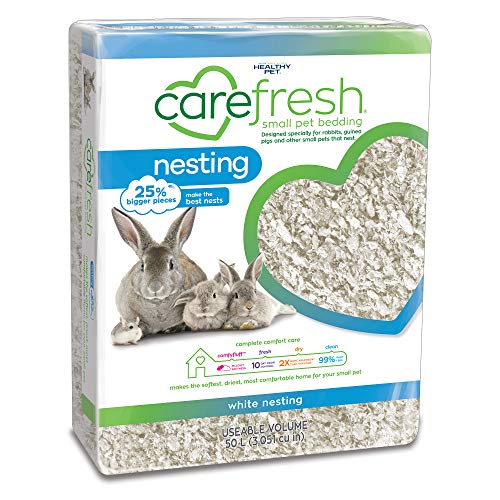
| Best Bedding | Carefresh White Nesting Paper Bedding, 50L | $28.99 | Daily refills + odor absorption |
| Best Sand Bath Setup | Niteangel Hamster Desert Bath Sand + Niteangel Sand Scoop | $13.99 + $12.99 | Sand potty training, dust control |
Why these three? The Nature’s Miracle cleaner is unscented and requires no rinsing — both critical for hamster respiratory safety. Carefresh paper bedding absorbs 3x more liquid than wood shavings, which cuts odor dramatically. The Niteangel sand scoop + bath sand combo turns potty cleanup from a 5-minute chore into a 30-second scoop-and-sift job.
Buy Nature’s Miracle Cage Cleaner on Amazon → Buy Carefresh Paper Bedding on Amazon → Buy Niteangel Sand Bath Bundle on Amazon →
How Often Should You Clean a Hamster Cage?
Cleaning frequency depends on cage size, bedding type, and how many hamsters you keep. A single hamster in a properly sized cage with paper bedding needs less frequent deep cleaning than two hamsters in a smaller cage with wood shavings.
The table below shows a complete cleaning schedule with time estimates for each task.
| Task | Frequency | Time Required | Tools Needed |
|---|---|---|---|
| Remove soiled bedding (toilet corner) | Daily | 2–3 min | Small scoop or spoon |
| Remove uneaten fresh food | Daily | 1 min | Hands or tweezers |
| Check and refill water bottle | Daily | 1 min | Fresh water |
| Replace bedding in toilet area | Every 2–3 days | 3–5 min | Fresh bedding, scoop |
| Partial bedding change (½ to ⅔) | Weekly | 15–20 min | Trash bag, fresh bedding, cleaner spray |
| Clean food bowl and water bottle | Weekly | 5 min | Dish soap, brush, hot water |
| Wipe down cage surfaces (bars, shelves) | Weekly | 10 min | Pet-safe cleaner spray, cloth |
| Full bedding replacement + cage wash | Monthly | 45–60 min | All tools, bathtub or sink access |
| Sanitize accessories (wheel, hideouts, toys) | Monthly | 15–20 min | Pet-safe cleaner, brush |
Why frequency matters. Hamsters have extremely sensitive respiratory systems. Ammonia from urine builds up fast in enclosed cages, and even low-level exposure over time causes chronic respiratory problems. A cage that smells clean to you may still have ammonia levels that irritate your hamster. Simply increasing the cleaning frequency often resolves chronic sneezing and breathing issues that owners had attributed to allergies or illness.
Signs you are not cleaning enough: strong ammonia smell when you open the cage, wet or clumped bedding spreading beyond the toilet corner, the hamster rubbing its face excessively, or audible clicking or wheezing sounds when breathing.
Signs you are cleaning too much: the hamster appears stressed after cleaning (over-grooming, bar biting, hiding), or you are removing all familiar scent markers every time. Hamsters rely on scent for territorial security — removing everything unfamiliar is disorienting.
The one-third rule: never remove more than one-third of bedding at once during weekly cleans, unless you are doing a full monthly deep clean. This preserves enough familiar scent to keep your hamster calm.
For guidance on setting up a cage that is easy to maintain, see our hamster cage setup guide.
What Can You Use to Clean a Hamster Cage?
Using the wrong cleaning product can be fatal. Hamsters absorb chemicals through their skin and respiratory system, and their small body size makes them far more vulnerable than dogs or cats.
| Product | Safe? | Use Case | Notes |
|---|---|---|---|
| White vinegar + water (50/50) | Yes | Wiping surfaces, deodorizing | Rinse after use, neutralizes ammonia |
| Unscented mild dish soap | Yes | Food bowls, water bottles | Rinse thoroughly — residue is toxic |
| Pet-safe enzyme cleaner | Yes | All cage surfaces, odor removal | Best option — breaks down waste at the source |
| Baking soda | Yes | Odor absorption in bedding | Sprinkle small amount, do not let hamster ingest |
| Bleach | NO | Never | Toxic fumes, residue lethal even after rinsing |
| Scented cleaners / Febreze | NO | Never | Respiratory irritation, toxic to small animals |
| Ammonia-based cleaners | NO | Never | Adds to urine ammonia — makes the problem worse |
| Essential oils | NO | Never | Highly toxic (especially tea tree, eucalyptus, pine) |
The most common mistake is reaching for household cleaners like Lysol, Clorox wipes, or multi-surface sprays. These are toxic to hamsters and can cause fatal respiratory distress through inhalation alone, even without direct contact.
For regular cage cleaning, a pet-safe enzyme cleaner is the best choice because it breaks down waste at the molecular level and requires no rinsing. Two reliable options:
Nature’s Miracle Small Animal Cage & Surface Cleaner ($6.19) — the most widely used small animal cage cleaner. The bio-enzymatic formula breaks down stains and odors at the source rather than just masking them. It is unscented, which is critical for hamsters with sensitive respiratory systems. No rinsing required after application.
Best used for weekly cage wipe-downs and monthly deep cleans. Spray on soiled surfaces, wait 3–5 minutes for the enzymes to work, then wipe with a damp cloth.
** Buy Nature’s Miracle Cage Cleaner on Amazon →**
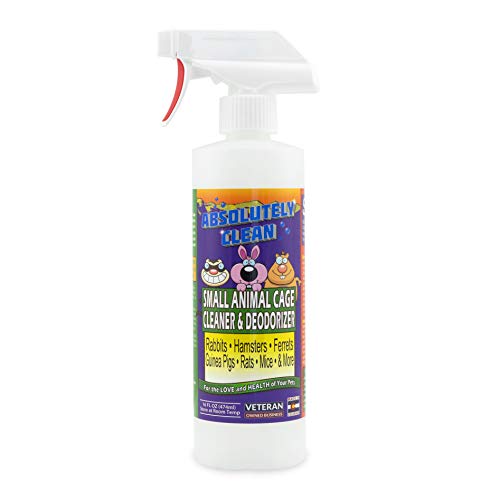
Amazing Small Animal Cage Cleaner Spray ($16.99) — a spray-and-wipe formula that requires no rinsing, made in the USA. Slightly more expensive per ounce than Nature’s Miracle but convenient for quick mid-week touch-ups when a full weekly clean is not yet needed.
** Buy Amazing Small Animal Cleaner on Amazon →**
Daily Spot Cleaning — Your 5-Minute Routine
Daily spot cleaning is the foundation of how to clean a hamster cage effectively. Skipping even a few days allows ammonia to reach dangerous levels.
Ammonia Toxicity is the primary health risk from soiled hamster bedding. When hamster urine breaks down, it releases ammonia gas — a pungent, colorless compound that damages the delicate respiratory epithelium of small mammals. According to the ASPCA (American Society for the Prevention of Cruelty to Animals), hamsters and other small rodents are particularly vulnerable to ammonia exposure because of their small lung capacity and obligate nasal breathing. Concentrations as low as 25 ppm (parts per million) — well below the level detectable by human smell — can cause chronic respiratory inflammation, and prolonged exposure leads to upper respiratory infections and pneumonia. The most effective prevention is daily removal of wet bedding from the toilet corner, combined with adequate cage ventilation. Symptoms of ammonia exposure include labored breathing, nasal discharge, and clicking or wheezing sounds.
Step 1: Remove soiled bedding from the toilet corner. Hamsters consistently use one or two specific corners as their toilet. Use a small scoop or spoon to remove all wet and clumped bedding from these areas. This is the single most important cleaning task you do every day.
Step 2: Remove uneaten fresh food. Vegetables, fruits, and protein-rich treats start decomposing within hours at room temperature. Pick out anything soft or wet that wasn’t eaten.
Step 3: Check water bottle flow. Squeeze the bottle gently to confirm water comes out and the sipper tube isn’t blocked. Refill with fresh water if needed.
Step 4: Spot-check the sand bath. If your hamster uses a sand potty, scoop any clumps from the sand and stir the surface. Full sand replacement happens monthly.
Step 5: Quick visual scan of the hamster. Look for signs of illness during the cleaning moment — labored breathing, wet nose, matted fur, or unusual lethargy. Catching symptoms in the first 1–2 days makes treatment dramatically more effective.
For bedding that absorbs better and reduces daily spot work, see our guide to the best hamster bedding.
Weekly Partial Cleaning — Your 20-Minute Reset
Once a week, do a partial bedding change to keep the cage odor-free without stressing your hamster with a full reset.
Replace one-third to two-thirds of the bedding. Never remove all bedding at once during weekly cleaning. Hamsters rely on familiar scent to feel secure, and removing everything can trigger stress behaviors like bar biting, over-grooming, or refusing food. Pull out the soiled sections and replace with fresh bedding of the same type.
Wipe down cage bars and shelves. Use a pet-safe enzyme cleaner on a damp cloth to wipe the bars, platforms, ramps, and any hard surfaces. Skip the soiled bedding areas — they get fresh bedding on top anyway.
Clean the food bowl and water bottle. Wash with unscented mild dish soap and hot water. Use a bottle brush to scrub the inside of the water bottle and clear any algae or biofilm from the sipper tube. Rinse thoroughly — soap residue is toxic to hamsters.
Refresh the sand bath top layer. Skim the top inch of sand, stir the rest, and add a half-inch of fresh sand on top. A full replacement happens monthly during the deep clean.
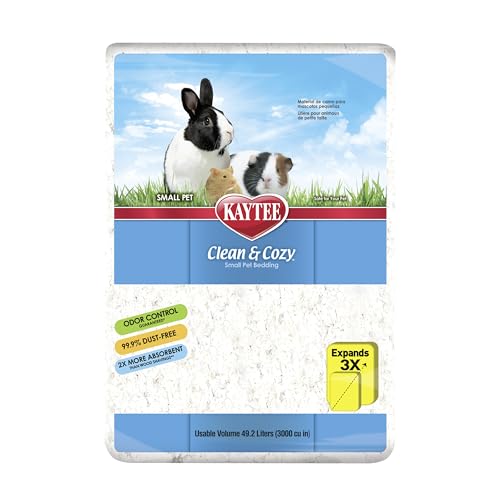
For bedding that holds up better to weekly changes, Carefresh White Nesting Paper Bedding ($28.99 for 50L) is our top pick — it’s 99% dust-free, which directly reduces respiratory irritation, and the clumped sections lift out cleanly during spot cleaning.
** Buy Carefresh Bedding on Amazon →**
If you prefer a heavier, more absorbent option for multiple hamsters or larger enclosures, Kaytee Clean & Cozy ($14.95 for 49.2L) is a reliable value alternative with similar odor control at a lower price point.
** Buy Kaytee Clean & Cozy on Amazon →**
Monthly Deep Clean — Step-by-Step
The monthly deep clean is a complete reset — the most thorough step in how to clean a hamster cage. Every surface gets washed, every accessory gets scrubbed, and all bedding gets replaced. This is also the time to inspect the cage for wear, damage, or chew marks that could become escape hazards.
| Step | Task | Time | Detail |
|---|---|---|---|
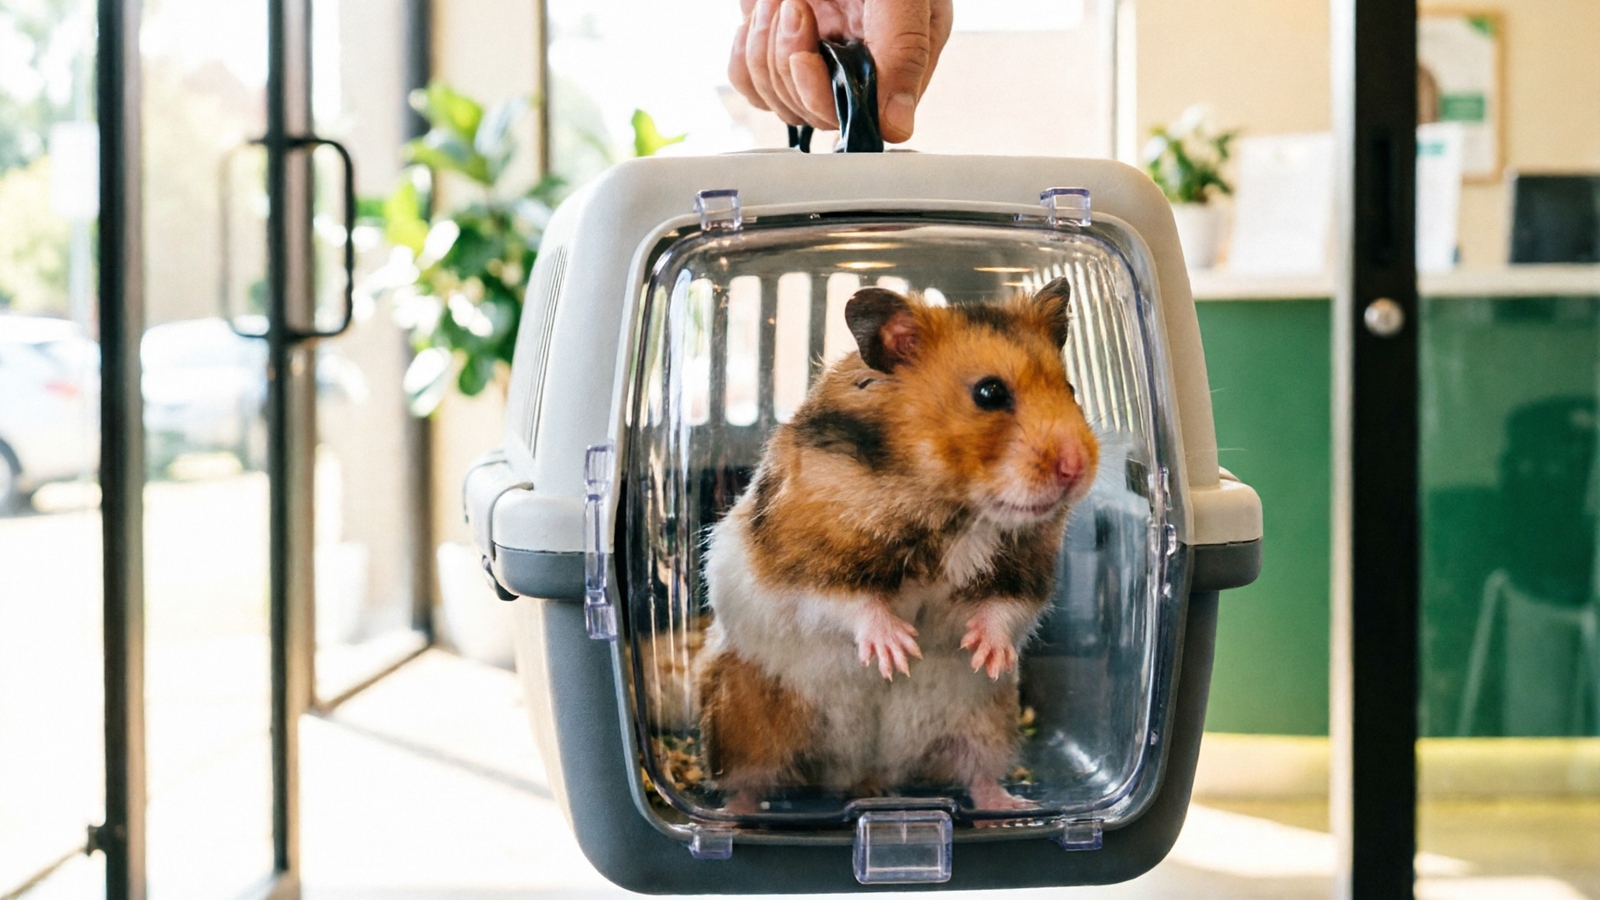
| 1 | Relocate hamster | 2 min | Temporary carrier or playpen with bedding |
| 2 | Empty all bedding | 5 min | Discard everything into a trash bag |
| 3 | Disassemble cage | 5 min | Remove shelves, ramps, wheel, hideouts, tubes |
| 4 | Wash cage base | 10 min | Bathtub or large sink with pet-safe cleaner + hot water |
| 5 | Wash accessories | 10 min | Wheel, hideouts, tubes, shelves — scrub with brush |
| 6 | Wipe down bars and walls | 5 min | Spray + wipe, focus on joints and corners |
| 7 | Dry everything | 10 min | Towel dry, then air dry 15–20 minutes |
| 8 | Add fresh bedding | 5 min | 3–6 inches deep for burrowing species |
| 9 | Reassemble and return hamster | 5 min | Rebuild setup, scatter treats, return hamster |
| Total | ~60 min |
Critical step — drying. Everything must be completely dry before adding bedding and returning the hamster. Damp bedding creates an environment where mold and bacteria multiply rapidly, which leads directly to respiratory infections. Towel-dry all surfaces, then let them air dry for 15–20 minutes. If you are short on time, use a hairdryer on the cool setting. Skipping the drying step is the number one cause of post-clean respiratory flare-ups.
Reorganize the layout slightly. Changing one or two accessory positions — moving the hideout to a different corner, rotating the wheel location — provides environmental enrichment. A new configuration stimulates exploration and prevents boredom. Just do not change everything at once. If your hamster seems disoriented after a layout change, revert to the previous arrangement.
Inspect the cage during deep clean. While everything is disassembled, check for chew marks on plastic edges, loose bars, rust on wire parts, and cracks in the base. These are safety hazards that can lead to escapes or injuries. Address them now rather than discovering them later.
Replace the sand bath. During the monthly deep clean is the ideal time to refresh the sand bath that hamsters use for grooming and, often, as a toilet.
Niteangel Hamster Desert Bath Sand ($13.99) — a truly dust-free bath sand that is safe for hamster respiratory systems. The fine-grain texture absorbs moisture and clumps for easy cleaning. It works as both a grooming bath and potty litter. Place 2–3 inches in a ceramic dish and replace monthly or when visibly soiled.
** Buy Niteangel Sand on Amazon →**
Pair the sand with a proper scoop and container — this combination cuts sand maintenance from a 10-minute chore to a 30-second scoop:
- Niteangel Hamster Sand Bath Scoop ($12.99) — fine mesh scoops out clumps without losing sand. Sifts in seconds.
- tafit Hamster Sand Bath Container (Ceramic) ($17.99) — ceramic dish is heavy enough that hamsters can’t tip it, easy to wash, and won’t absorb odors like plastic does.
** Buy Niteangel Sand Scoop on Amazon →** ** Buy tafit Ceramic Sand Container on Amazon →**
Disinfecting Your Hamster Cage Safely
Routine cleaning removes visible dirt. Disinfecting goes further by killing bacteria and pathogens that are invisible to the eye. Not every cleaning session requires full disinfection, but certain situations call for it.
When to disinfect:
- After your hamster has recovered from an illness
- When bringing home a new hamster
- Quarterly as preventative maintenance
- If you notice persistent odor despite regular cleaning
Safe disinfection method:
- Clean all surfaces first to remove visible waste and debris
- Apply a pet-safe enzyme cleaner and let it sit for 10 minutes — the enzymes need contact time to break down bacteria
- Alternatively, use a 50/50 white vinegar and water solution and let it sit for 5 minutes
- Rinse thoroughly with hot water — zero residue
- Dry completely before reassembly
Why bleach is dangerous for hamsters. Even after thorough rinsing, chlorine gas residue can linger in cage joints, screw holes, and plastic seams. A hamster’s respiratory system is roughly 10 times more sensitive than a human’s. What smells like a faint clean scent to you can cause fatal respiratory distress in a hamster. There is no safe way to use bleach in a hamster cage — the risk is never worth it.
Vinegar as a disinfectant. White vinegar is an effective natural disinfectant. The acetic acid destroys many common bacteria and neutralizes ammonia. The 50/50 dilution is strong enough to disinfect while being safe once rinsed. The vinegar smell dissipates within minutes of drying. White vinegar is effective, inexpensive, and safe when used correctly.
After-illness disinfection protocol: If your hamster has been sick, wash all cage surfaces and accessories with a 3% hydrogen peroxide solution instead of vinegar or enzyme cleaner. Hydrogen peroxide is more effective at killing pathogens. Rinse everything three times with hot water. Replace all bedding and nesting material — do not reuse anything from the sick period. Isolation of the sick hamster during recovery also prevents reinfection.
How to Keep a Hamster Cage from Smelling
A properly maintained hamster cage should have no noticeable odor — a clear sign you know how to clean a hamster cage correctly. If you can smell it from 2 feet away, something in your routine needs adjustment. Odor is not inevitable — it is a sign that waste is accumulating faster than it is being removed.
| Strategy | How | Why It Works |
|---|---|---|
| Daily spot clean toilet corner | Remove soiled bedding every day | Urine is the number one odor source |
| Use paper bedding | Carefresh or similar | Absorbs 3x more liquid than wood shavings |
| Use a sand potty | Place chinchilla sand in a ceramic dish | Hamsters naturally toilet in sand |
| Proper ventilation | Do not cover the cage with a towel | Ammonia builds up without airflow |
| Avoid overfeeding fresh food | Remove uneaten produce within 24 hours | Rotting food creates strong odor |
| Clean the wheel regularly | Wipe weekly, scrub monthly | Wheels accumulate urine and feces |
| Do not use scented bedding | Scented bedding masks odor with chemicals | Chemicals irritate the respiratory tract |
The most common odor mistake: covering the cage with a towel or blanket to contain the smell. This traps ammonia and creates a toxic environment. If the cage smells, improve airflow and increase cleaning frequency — never block ventilation.
Sand potty training. Place a ceramic dish filled with chinchilla bath sand in the corner your hamster already uses as a toilet. Most hamsters will switch to using the sand dish within 1–2 weeks. Scoop waste from the sand daily and replace the sand completely during the monthly deep clean. This single change makes daily spot cleaning significantly faster and more effective. Once a hamster consistently uses a sand potty, the surrounding bedding stays clean for much longer — sometimes cutting weekly bedding replacement needs in half.
Exercise wheel hygiene. The wheel is the most overlooked odor source in a hamster cage. Hamsters run on their wheels for hours each night, and urine and feces accumulate on the running surface. Wipe the wheel down weekly during the partial clean and scrub it thoroughly during the monthly deep clean. A wheel with a smooth, solid running surface is easier to clean than one with ridges or mesh — something worth considering at purchase time.
Fresh food management. Fresh vegetables and fruit are healthy additions to a hamster’s diet, but uneaten portions start decomposing within hours. Remove any fresh food your hamster has not eaten within 12–24 hours. Fruit especially — the sugar content causes rapid bacterial growth once it begins to break down.
Proper cage ventilation is a factor that starts at purchase. A cage with adequate airflow makes odor control substantially easier. See our guide to the best hamster cage for ventilation recommendations.
Cleaning Without Stressing Your Hamster
Hamsters are prey animals. Sudden environmental changes — removed scents, unfamiliar bedding, rearranged objects — trigger the same fear responses they would experience in the wild when a predator disturbs their burrow. A stressed hamster may refuse food, become aggressive, or develop compulsive behaviors like bar biting and over-grooming.
The goal is to clean thoroughly while keeping your hamster as calm as possible.
| Tip | Implementation |
|---|---|
| Use a consistent schedule | Same day and time each week — hamsters learn routines |
| Keep one-third old bedding | Preserves familiar scent territory |
| Do not rearrange everything monthly | Change one or two items, not the entire layout |
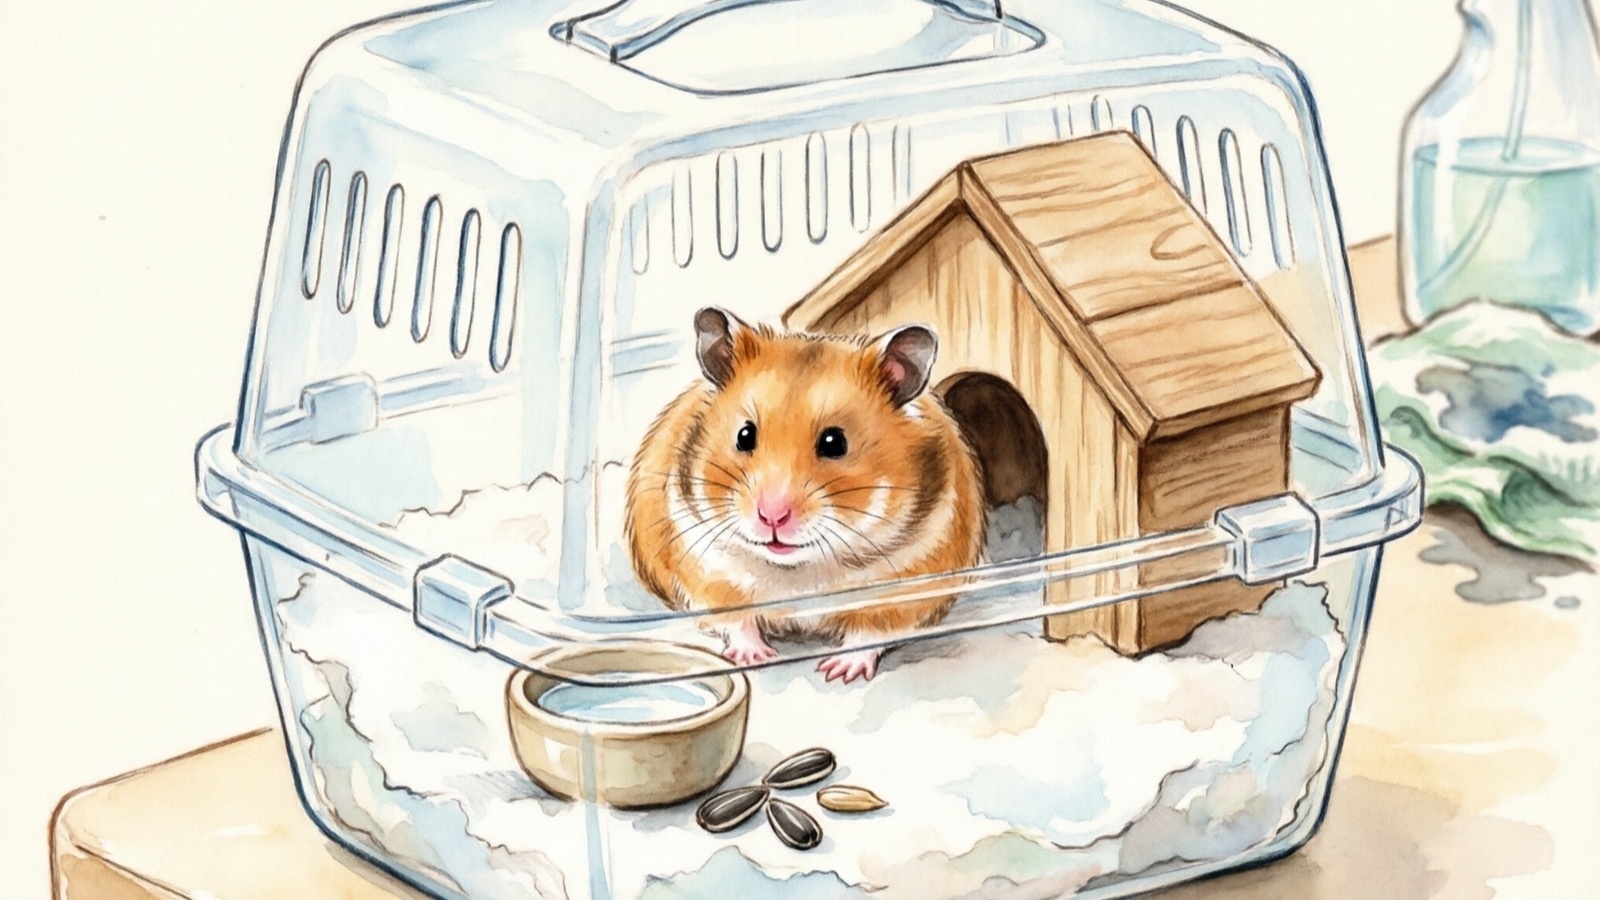
| Provide a safe temporary space | Add bedding, a hideout, and a treat — not a bare carrier |
| Do not wake a sleeping hamster to clean | Wait until they are naturally active in the evening |
| Return to a positive environment | Scatter treats and hide food in new bedding for foraging |
| Avoid loud noises during cleaning | No vacuuming near the cage, no sudden movements |
| Wash your hands before handling | Remove food residue that could cause scent confusion |
Signs of cleaning-related stress to watch for:
- Excessive grooming after you return the hamster to the cage
- Bar biting or cage shaking
- Overeating or undereating in the hours after cleaning
- Hiding more than usual and refusing to come out
- Repetitive pacing along the cage walls
If you notice these signs consistently after cleaning, try keeping more old bedding (up to one-half instead of one-third) and reducing the number of items you rearrange during the monthly deep clean. Some hamsters are simply more sensitive to environmental change than others. Start with the conservative approach — minimal change — and gradually adjust based on your individual hamster’s reaction.
Timing matters. Hamsters are nocturnal and most active in the evening and early morning. Schedule your cleaning sessions for when your hamster is already awake and active, not during their peak sleeping hours in the afternoon. Waking a hamster to clean the cage combines the stress of being disturbed with the stress of environmental change — a double negative that is easy to avoid.
For general stress management and hamster wellbeing beyond cleaning, see our complete hamster care guide.
Cage cleaning safety checklist:
- Remove wet bedding from toilet corner daily
- Replace fresh water and check sipper tube daily
- Remove uneaten fresh food within 24 hours
- Keep 1/3 old bedding during weekly/monthly clean for scent familiarity
- Use pet-safe enzyme cleaner or white vinegar (50/50) — rinse thoroughly
- Fully dry all surfaces before returning hamster
- Place treat in cage upon return for positive association
- Clean during evening hours when hamster is naturally awake
- Never use bleach, ammonia-based cleaners, or scented products
- Never use essential oils (tea tree, eucalyptus, pine are toxic)
- Never change 100% of bedding at once — causes extreme stress
- Never use pine or cedar shavings — phenols damage respiratory system
Cleaning Toolkit — The 7 Products That Make It Easy
If you’ve made it this far, here’s the complete shopping list. Every product on this list is hamster-safe, vetted by our team, and links directly to Amazon with our affiliate tag.
Cleaners (2):
- Nature’s Miracle Small Animal Cage & Surface Cleaner — $6.19 — your daily-driver cage cleaner, no rinse required
- Amazing Small Animal Cage Cleaner Spray — $16.99 — quick mid-week touch-ups when a full clean isn’t due
Bedding (2):
- Carefresh White Nesting Paper Bedding, 50L — $28.99 — best overall, 10-day odor control, 99% dust-free
- Kaytee Clean & Cozy Paper Bedding, 49.2L — $14.95 — best value alternative
Sand Bath Setup (3):
- Niteangel Hamster Desert Bath Sand — $13.99 — truly dust-free, doubles as litter
- Niteangel Hamster Sand Bath Scoop — $12.99 — fine mesh, sifts in seconds
- tafit Hamster Sand Bath Container (Ceramic) — $17.99 — heavy ceramic dish, hamster-safe, easy to wash
Total toolkit cost: ~$96.70 — covers roughly 2–3 months of regular cleaning supplies for a single hamster.
For setup that minimizes cleanup work long-term, see our guide to the best hamster cage and hamster bedding reviews.
Frequently Asked Questions
How often should you clean a hamster’s cage?
Daily spot cleaning (2–3 minutes) is non-negotiable — remove soiled bedding and uneaten food every day. Do a partial bedding change (replace ½ to ⅔ of bedding) once a week. A full deep clean with complete bedding replacement and cage washing should happen once a month. If the cage smells between cleans, increase spot cleaning frequency or evaluate your bedding type — paper bedding controls odor better than wood shavings.
What can I disinfect a hamster cage with?
Use a pet-safe enzyme cleaner like Nature’s Miracle or a 50/50 solution of white vinegar and water. Both kill bacteria without leaving toxic residue. Never use bleach, ammonia-based cleaners, or scented disinfectants — these are toxic to hamsters even after rinsing. After disinfecting, rinse everything thoroughly with hot water and dry completely before reassembling.
How to keep a hamster cage smelling fresh?
The most effective method is daily spot cleaning of the toilet corner combined with absorbent paper bedding. Place a sand bath in a ceramic dish in your hamster’s preferred toilet corner — most will use it consistently, making cleanup easier. Remove uneaten fresh food within 24 hours, clean the exercise wheel weekly, and ensure proper cage ventilation. Never cover the cage with a towel. A properly maintained cage should have no noticeable odor.
Can I use soap and water to clean a hamster cage?
Yes, but only unscented mild dish soap, and you must rinse thoroughly with hot water. Any soap residue is harmful if ingested or absorbed through the skin. Soap and water works well for food bowls, water bottles, and hard plastic accessories during the monthly deep clean. For regular cage surface cleaning, a pet-safe enzyme cleaner is the better choice because it requires no rinsing and leaves no residue. Knowing how to clean a hamster cage safely is the foundation of good hamster ownership.